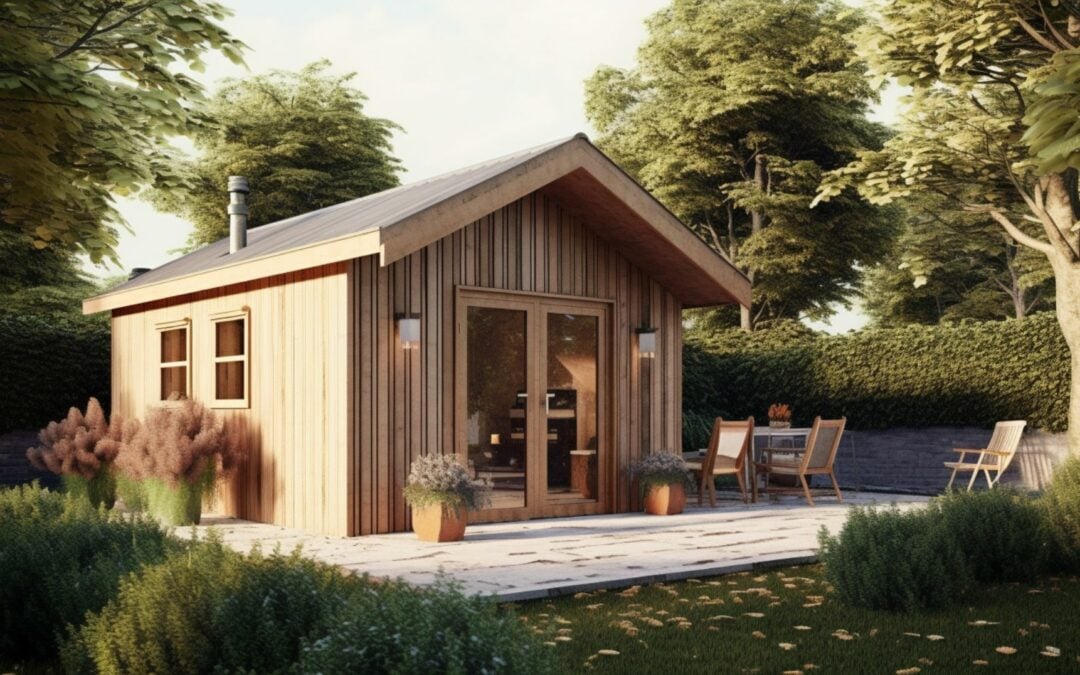
If you’re in need of extra storage space or want to create a new workspace on your property, building an outbuilding can be a great solution. Outbuildings come in a variety of sizes and styles and can be used for a multitude of purposes, from storing tools and equipment to serving as a home office or guesthouse. In this blog post, we’ll walk you through the process of building an outbuilding for your property.
Step 1: Determine the Purpose and Size of Your Outbuilding
Before you start building your outbuilding, it’s important to determine its purpose and size. Consider what you’ll be using the space for and how much space you’ll need. Will you be storing large equipment or just a few garden tools?Will the building serve as a workshop or office space? This information will help you decide on the size and design of your outbuilding.
Step 2: Choose a Location
Once you know the purpose and size of your outbuilding, it’s time to choose a location. Consider the terrain and the direction of the sun, as well as how the outbuilding will fit into the rest of your property. You may also need to check with your local zoning office to ensure that you’re allowed to build an outbuilding in your chosen location.
Step 3: Prepare the Site
Before you can start building, you’ll need to prepare the site for construction. This may include clearing the area, leveling the ground, and installing a foundation. Depending on the size and type of outbuilding you’re building, you may need a concrete slab or a simple gravel base.
Step 4: Build the Frame
With the site prepared, it’s time to start building the frame of your outbuilding. This will likely involve constructing walls and a roof, as well as installing doors and windows. Depending on the design of your outbuilding, you may need to hire a professional carpenter to help with this step.
Step 5: Install Electrical and Plumbing Systems
If you plan to use your outbuilding as a workspace, you may need to install electrical and plumbing systems. This may include running electrical wires, installing outlets, and connecting to a water supply. You’ll need to consult with a licensed electrician and plumber to ensure that the work is done safely and up to code.
Step 6: Finish the Interior and Exterior
Once the frame and systems are in place, it’s time to finish the interior and exterior of your outbuilding. This may include insulation, drywall, paint or stain, and flooring. You may also want to add shelves, cabinets, or other storage solutions to make the most of your new space.
Step 7: Enjoy Your New Outbuilding
With your outbuilding complete, it’s time to enjoy your new space! Whether you’re using it for storage, work, or relaxation, an outbuilding can add value and functionality to your property. Be sure to keep up with regular maintenance and repairs to ensure its longevity and usefulness.
In conclusion, building an outbuilding for your property can be a rewarding and useful project. By following these steps and working with a trusted contractor or carpenter, you can create a space that meets your needs and adds value to your property. Family Fence Factory is proud to offer custom outbuilding construction and installation services, as well as a variety of other outdoor furniture and construction options. Contact us today to learn more!

